
More to come... check back periodically as I make progress, or hope to.
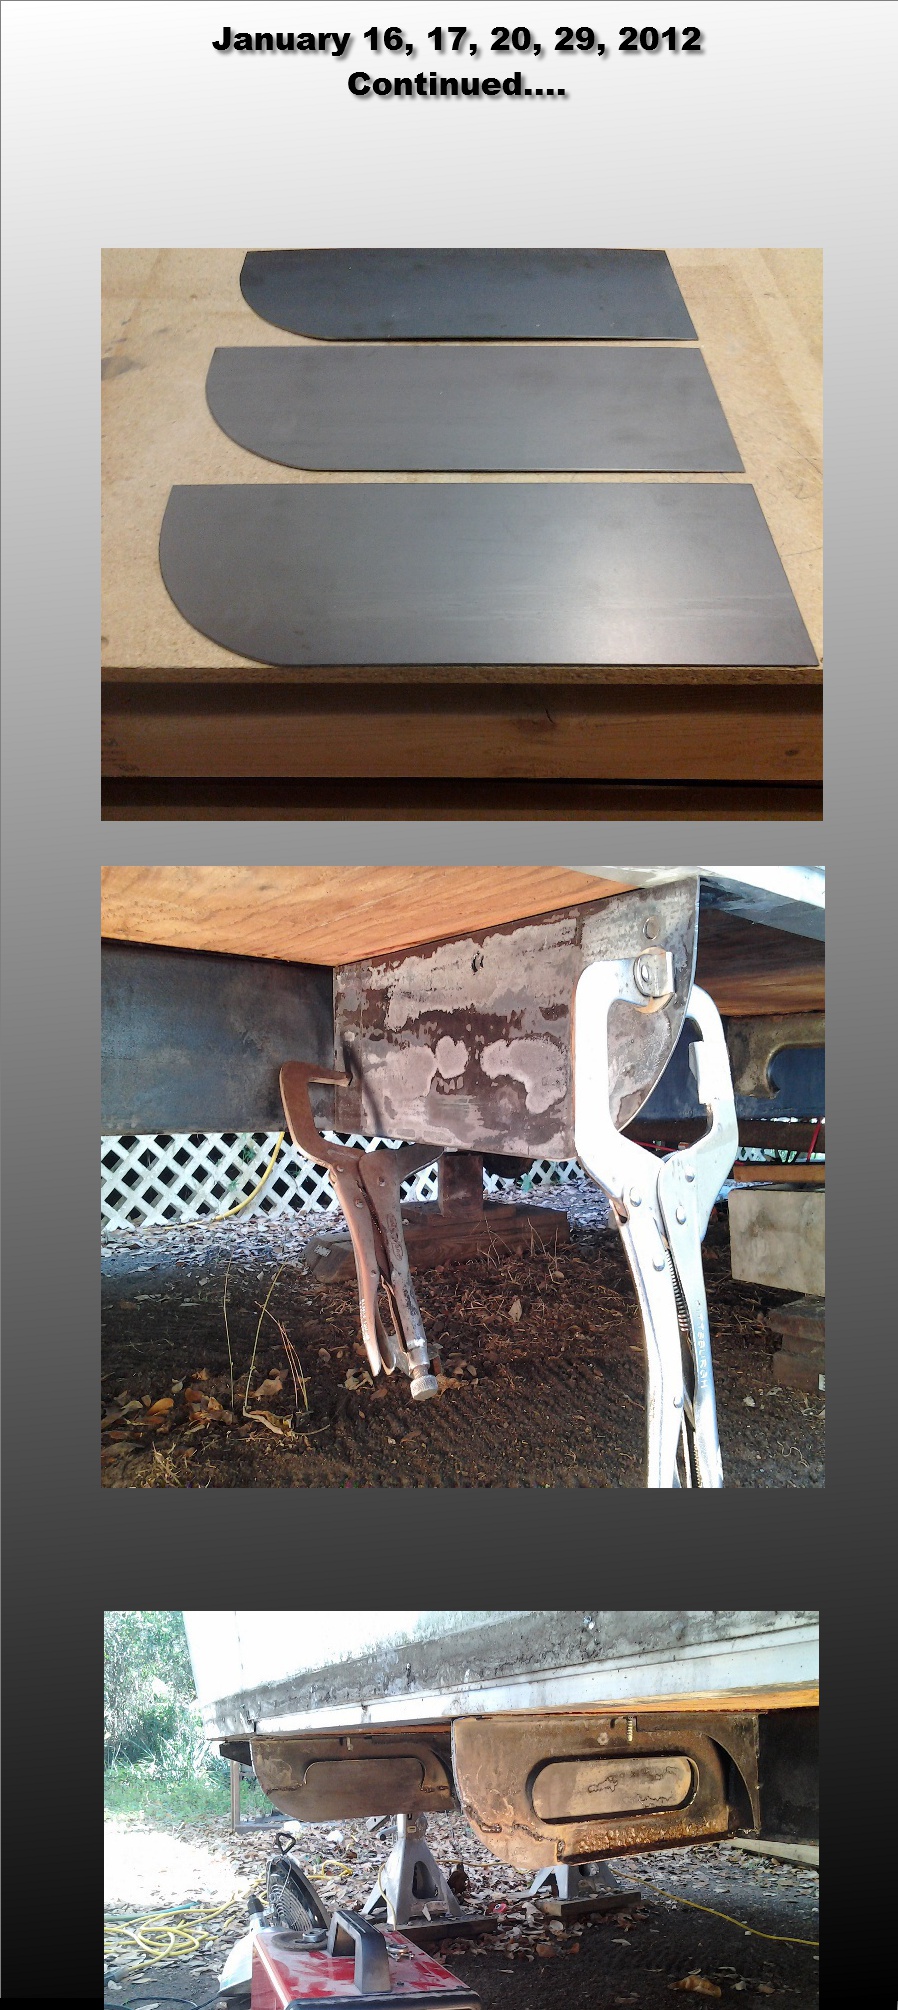
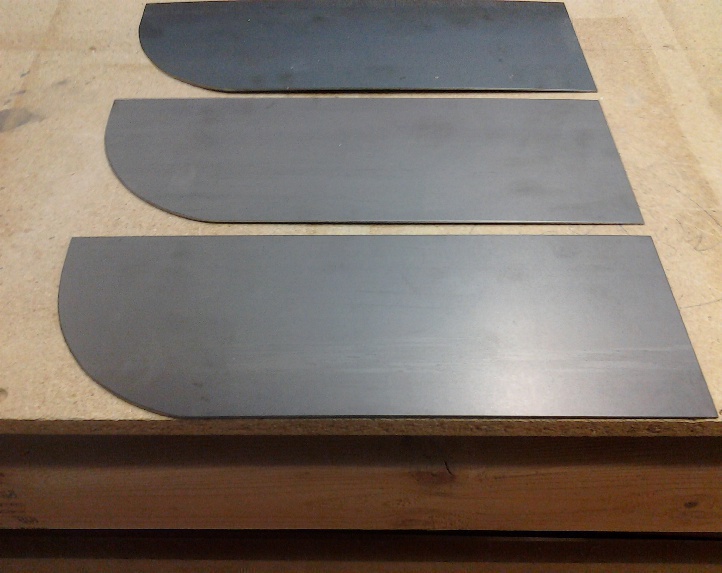
These are just 3 of the 20 I had made. I will be drilling some 1/2" holes in the top portion to do a "puddle weld"
through.
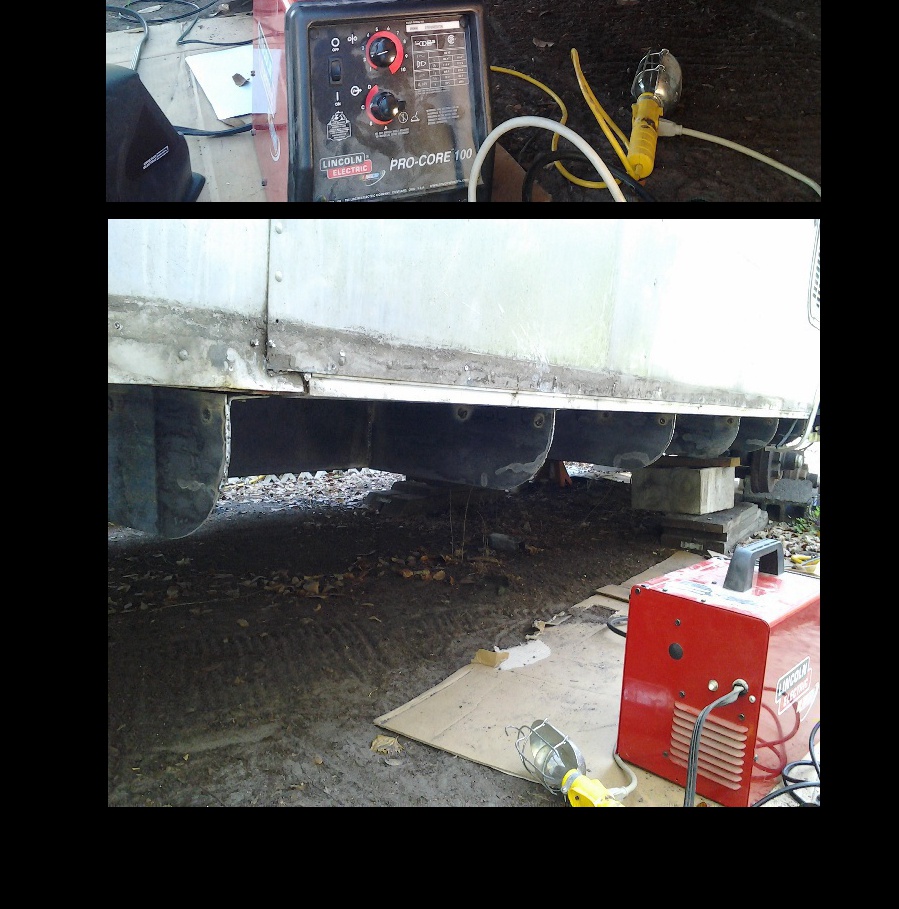
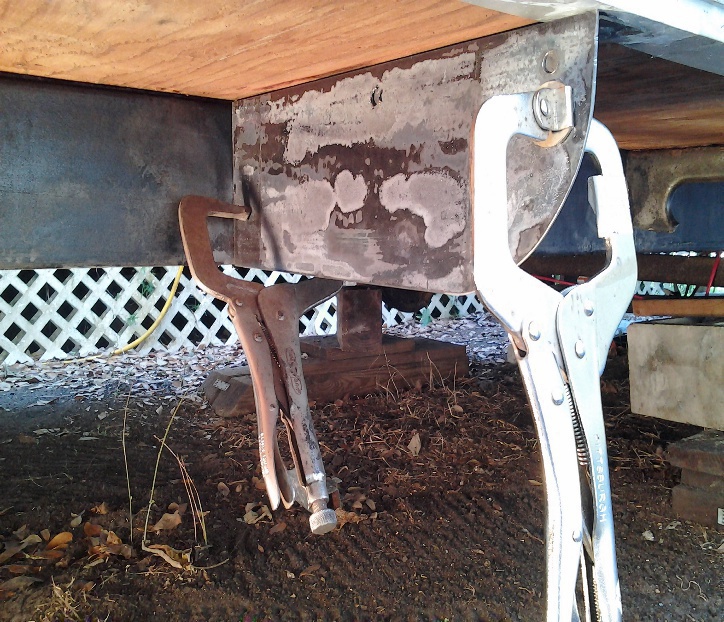
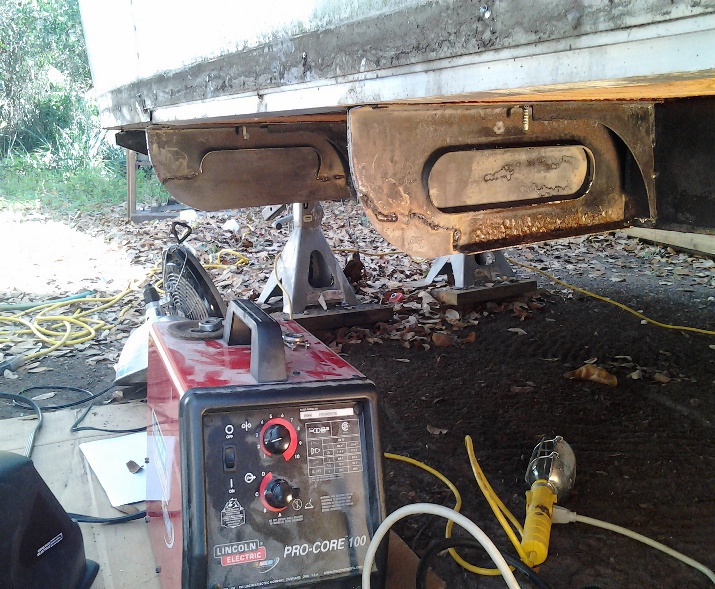
Here is one clamped in place ready for welding. Oh yeah, if you notice how good the frame looks, it is because I
wired brushed it and sprayed it with OSPHO. A rust neutralizer. I decided I wasn't going to spend megabucks on
POR 15 and hand paint the entire frame. I used OSPHO on my flatbed trailer, then used a good quality spray paint.
It came out great. The only place there was any problem with heavy rust, was the bottoms of the outriggers, and
that was due to the insulation being soaked. I will be attaching rigid foam insulation to the underside of the floor
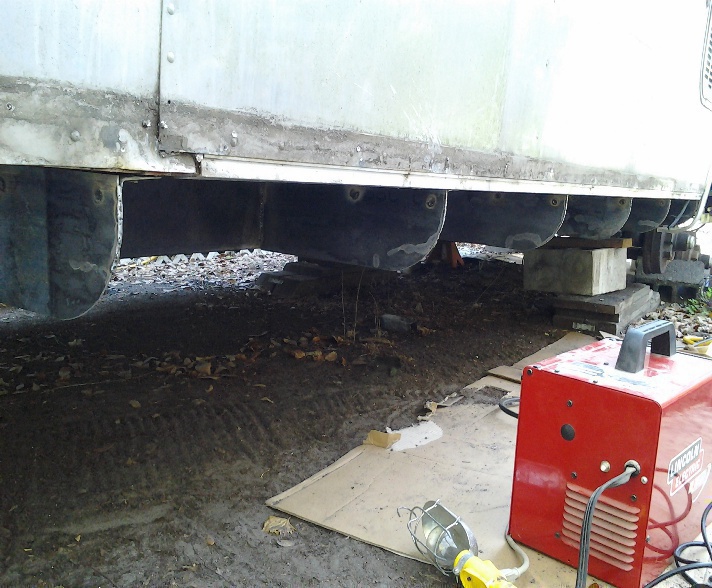
and eliminate that problem. You can see below the now complete outrigger. Solid as a rock!
I managed to get 5 of them done today. The first one took the longest. They went progressively faster with each
next one. Next chance I get I will hit the curbside of the trailer and work my way back to the axles. Lots of work!
Well... back to the underside of the trailer. I shopped the online RV places that sell the outriggers for Airstreams,
and there are only 2 places. The cost is upwards of $15-$27 per piece. I need 15-20 of them. YIKES! Not
happening, so I purchased a 4' x 8' sheet of 16 gauge steel from a local supplier, and with a template I made,
gave it all to a local sheet metal fabricator. They cut 20 flat outriggers for me. Took one day. The total cost per
outrigger was less than $7, and I still had a 3' x 5' piece of sheet metal left over. Sweet! I really didn't need a
whole complete outrigger like the ones sold online, as I just needed to attach to what is left of the current
outriggers. You'll see below.